<>
Street photography is evolving with technological advancements, and drones are at the forefront of this transformation. Utilizing drones for capturing vertically oriented photos and crafting panoramic shots opens new creative dimensions for photographers. This blog post will explain why vertically oriented photos are impactful, how to use drones to capture them, steps to create a vertical panorama, the process of stitching images together, and what the final product looks like. Whether you’re a seasoned photographer or a beginner eager to explore new techniques, this guide will provide you with the necessary know-how.The Reason for a Vertically Oriented Photo
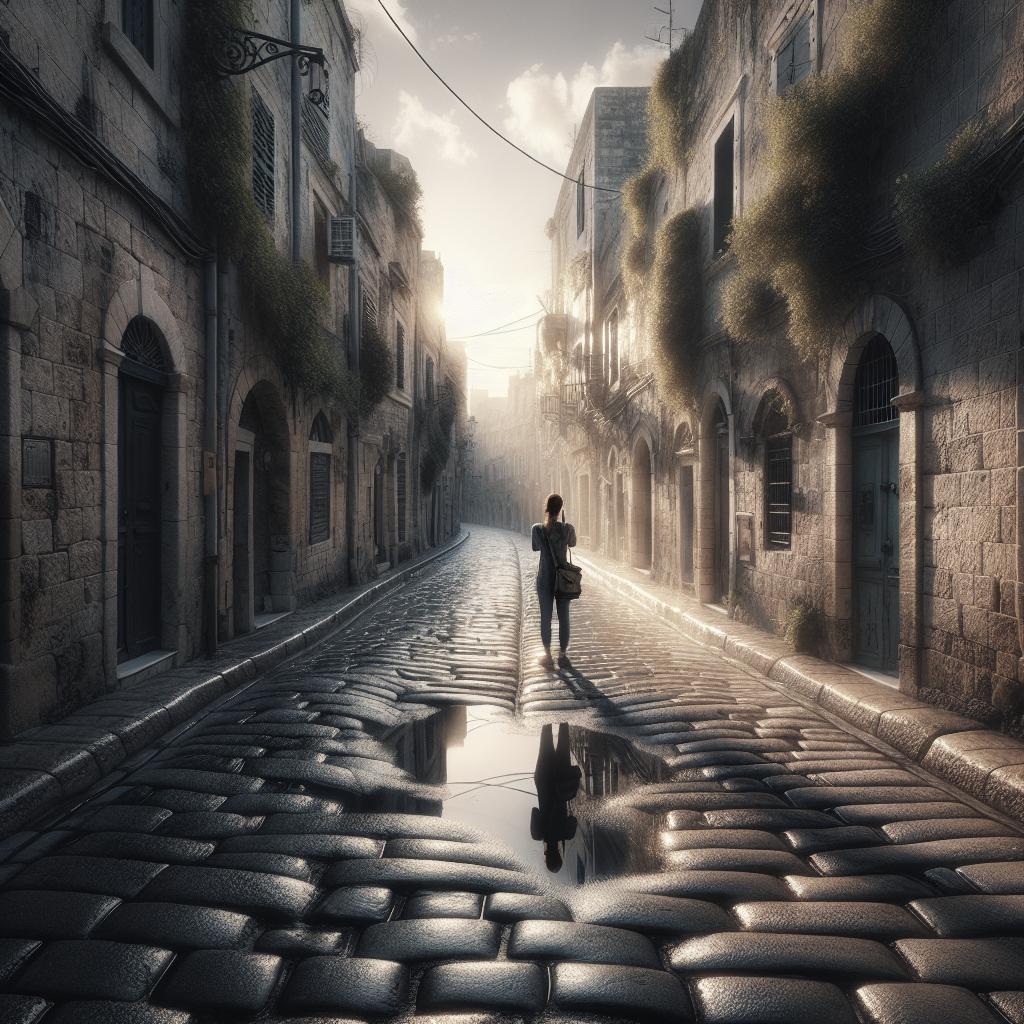
Vertically oriented photos, or portrait orientations, are gaining popularity, particularly on social media platforms like Instagram. This format maximizes screen real estate on mobile devices, providing a more engaging visual experience. In the context of street photography, vertically oriented photos can emphasize the height and grandeur of urban architecture, capturing both the intricate details at ground level and the expansive sky above. Moreover, vertical photos are perfect for storytelling. They allow photographers to create a narrative that flows from the bottom of the frame – often laden with street-level activity – to the top, where one can capture the overarching environment. This perspective provides viewers with a sense of immersion, making them feel as though they are standing amidst the bustling city streets themselves.
Vertically Oriented Photos With a Drone
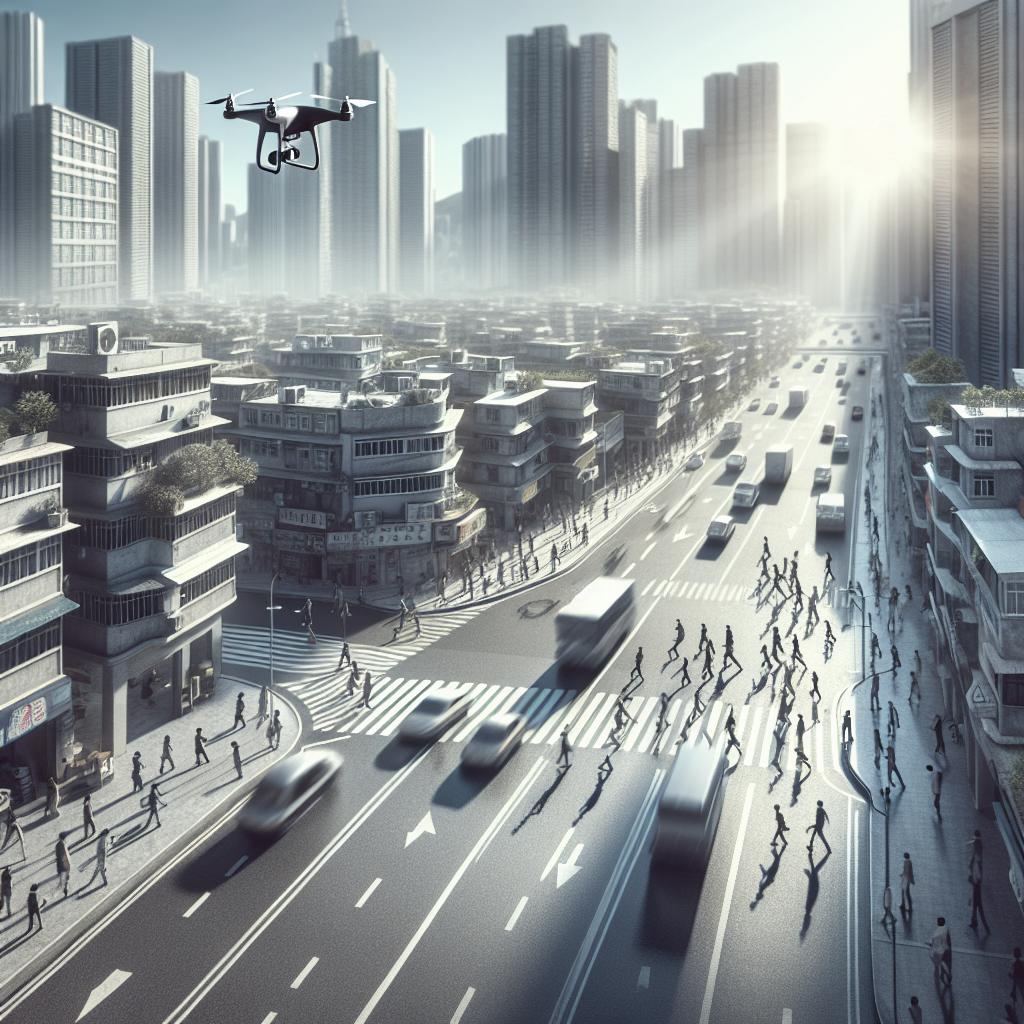
Using a drone for vertically oriented photos can be a game-changer for street photographers. Unlike traditional cameras, drones offer aerial perspectives, enabling you to capture scenes that would be difficult or impossible to photograph otherwise. They allow for unique angles and viewpoints, highlighting elements like rooftops, patterns in the streets, and large crowds from above. To start, ensure your drone is equipped with a high-quality camera capable of shooting in portrait mode. While some drones offer built-in portrait capabilities, others may require manual adjustment of the camera angle. Fly the drone to an optimal altitude where you can capture the desired elements of the street below while maintaining a clear vertical alignment. It’s important to consider the framing and composition. Drones provide a plethora of compositional opportunities, from symmetrical patterns created by urban planning to dynamic diagonal lines formed by roadways and buildings. Experiment with different heights and angles to discover the most compelling compositions that highlight the beauty and chaos of street life.
How to Take Images for a Vertical Panorama With a Drone
Creating a vertical panorama involves stitching together multiple images taken at different intervals and heights. To begin, fly your drone to the starting point of your intended panorama. Make sure your drone is level and stable before taking the first shot, then gradually tilt the camera downwards (or move the drone upwards) to take successive images that will later be stitched together. Ensure there is a sufficient overlap between each image—generally 20-30% is ideal. This overlap will facilitate smoother blending of the images during the stitching process. The more overlap, the less likely you’ll encounter gaps or misalignments in your final panorama. Additionally, pay close attention to lighting and exposure settings. Consistency is key; any significant variance in lighting between shots can result in noticeable seams when the images are combined. Manual camera settings can help maintain uniform exposure, thus producing a more cohesive final image.
Stitching the Images
Once you’ve captured your series of overlapping images, the next step is to stitch them together into a seamless vertical panorama. Several software options are available for this purpose, including Adobe Photoshop, Lightroom, and specialized panorama stitching programs like PTGui. Start by importing your images into your chosen software. Follow the software-specific instructions for stitching panoramas—most programs offer automated processes that identify overlapping areas and blend the images together. Be patient during this stage; depending on the number and resolution of your images, the stitching process can take some time. After the initial stitch, inspect the panorama for any visible seams or alignment issues. Use the software’s tools to make adjustments, such as smoothing edges or correcting perspectives. This step may involve some trial and error, but attention to detail will significantly enhance the final result.
The End Result
The final vertical panorama should be an awe-inspiring representation of the street scene, capturing the essence of the urban environment in a way that a single photo couldn’t. The vertical orientation lends itself to an immersive storytelling experience, guiding the viewers’ eyes from the buzzing activity at street level to the tranquil skies above. Your finished photo can be edited further to enhance details, adjust colors, and sharpen focus. Tools like Lightroom or Photoshop offer extensive options for fine-tuning your image to perfection. Remember, the goal is to create an engaging, visually dynamic piece of art that reflects your unique perspective. Share your vertical panoramas on various platforms and participate in photography communities to get feedback and appreciation. As you gain more experience, experiment with different locations, times of day, and compositions to continually refine your craft. The versatility and creative potential of drone photography are immense, providing endless opportunities for innovative street photography.
| Section | Description |
|---|---|
| The Reason for a Vertically Oriented Photo | Explores why vertical photos are impactful, particularly for social media and storytelling in street photography. |
| Vertically Oriented Photos With a Drone | Discusses the benefits and techniques of using drones to capture vertical images, including framing and composition tips. |
| How to Take Images for a Vertical Panorama With a Drone | Details the process of shooting multiple overlapping images with a drone to create a vertical panorama. |
| Stitching the Images | Guides through using software to stitch the captured images into a seamless vertical panorama. |
| The End Result | Discusses the final steps of refining the vertical panorama and the creative possibilities it opens up for street photography. |