<>
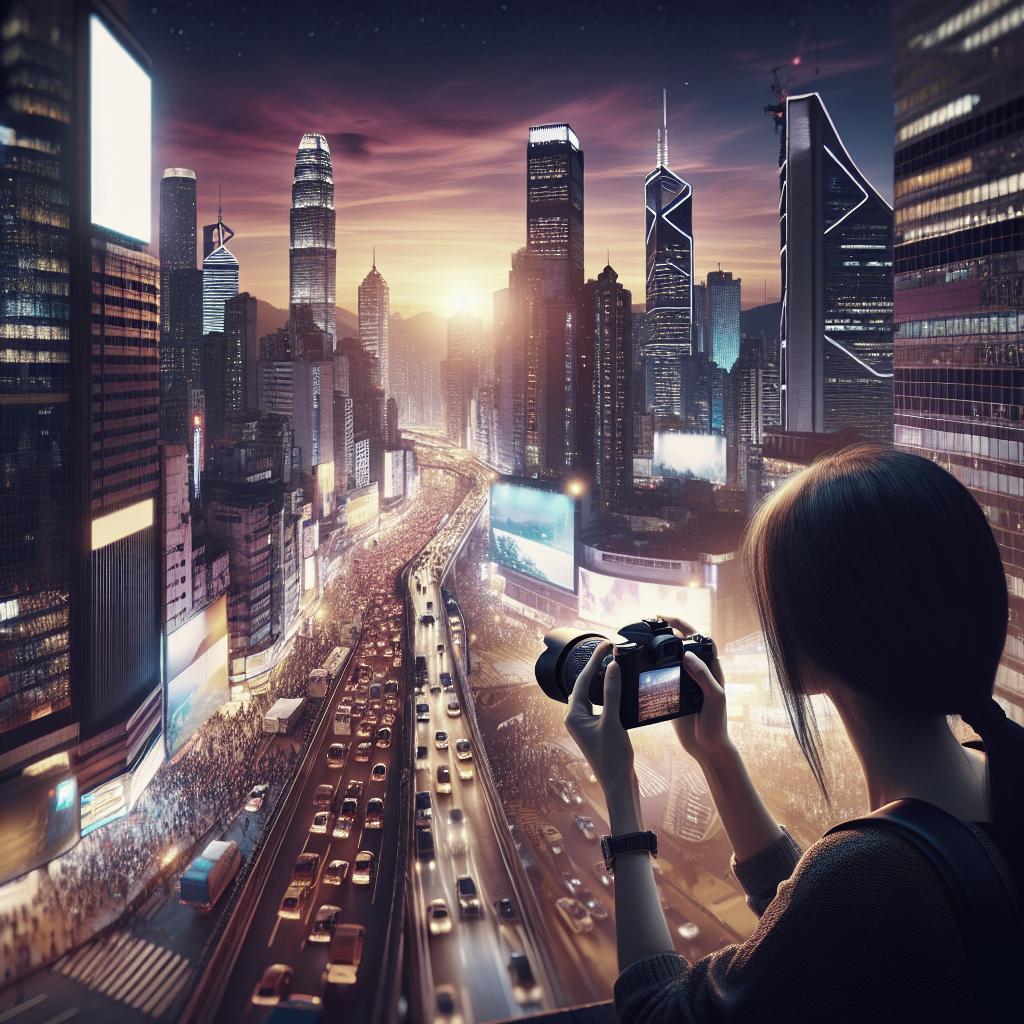
Lighting is an essential element in videography, capable of transforming simple scenes into visually captivating stories. In urban videography, the challenge and allure lie in creatively manipulating light amidst often harsh and unpredictable ambiances. This blog post provides a comprehensive guide to the best lighting setups, showcasing 30 innovative techniques to make your urban video projects stand out. From simple yet effective lighting to playful and intentional variations, each method is detailed to help both novice and experienced videographers bring their creative vision to life.
#1 – Gelled Rim Lighting
Gelled rim lighting is a technique where colored gels are placed over lights to cast a halo of color around the subject’s edges. This method adds mood and contrast to your urban scenes, making your subject stand out against the often complex backgrounds of cityscapes. To achieve this, position your light source behind the subject, apply the colored gels, and adjust the intensity to balance the ambient city lights. Utilize a variety of colors to convey different emotions or themes. Deep blues and purples can evoke a sense of night-time mystique, while warmer hues like reds and oranges add an element of vibrancy and energy. Experiment with different gel combinations to find the perfect harmony for your scene.
#2 – Edge Lighting
Edge lighting emphasizes the outline of your subject, creating a clear separation between the subject and the background. This technique is particularly useful in urban environments where the background can be cluttered. By placing lights at a sharp angle to your subject, you illuminate one side’s edge, enhancing depth and texture. Incorporate edge lighting to highlight the contours and details of architectural structures or capture the dynamic outlines of moving subjects like cyclists or pedestrians. This method not only adds visual interest but also draws the viewer’s focus to the subject’s silhouette.
#3 – Beauty Lighting
Beauty lighting, often used in portrait photography, involves soft, even illumination that reduces shadows and highlights facial features. For urban videography, this technique can be adapted to create flattering shots of subjects in city settings. Use ring lights or diffused LED panels placed close to the camera and subject to achieve this effect. Combine beauty lighting with urban nightscapes to contrast the softness of human features with the hard lines of city architecture. This setup is ideal for interviews, close-ups, or any scene where the subject’s expression and detail are paramount.
#4 – Wrap Around Lighting
Wrap-around lighting creates a soft light that gently envelops the subject, enhancing the natural look of the scene. By positioning multiple light sources around the subject at different angles, you can create a seamless, even light that reduces harsh shadows. In urban settings, wrap-around lighting can help blend the subject smoothly into the environment. Use this technique for scenes requiring a natural, warm feel, such as casual conversations or interactions in cozy café settings. Adjust the light distance and diffusion to ensure the lighting remains unobtrusive and natural-looking.
#5 – Overhead Lighting
Overhead lighting, also known as top lighting, casts a distinctive shadow pattern that can add drama and intensity to urban videography. Position your light source directly above the subject to create deep shadows, ideal for moody or suspenseful scenes. This technique is particularly effective for highlighting facial features and creating a sense of depth in city environments. Use overhead lighting to intensify scenes taking place in alleys, under streetlights, or during night shots where the urban setting itself provides supplemental lighting.
#6 – Silhouette Rim Lighting
Silhouette rim lighting involves backlighting the subject to create a defined outline while keeping the front in shadow. This method is effective in urban videography for creating striking silhouettes against vibrant city backdrops. To achieve this, place a strong light source behind the subject and adjust the exposure to capture the bright background while keeping the subject dark. This technique works well during sunrise or sunset, when the natural lighting complements the artificial lights of the city.
#7 – Half Lighting
Half lighting, or side lighting, illuminates half of the subject, leaving the other in shadow. This contrast can add mystery and depth, making it a strong choice for urban settings. Position your light source to the side of your subject to achieve this striking effect. Use half lighting to emphasize strong facial features or enhance the texture of urban surfaces like brick walls or graffiti-covered streets. This dramatic lighting setup is perfect for creating a sense of intrigue or tension in your scenes.
#8 – Lighting As A Prop
Incorporating lights as part of the scene itself can add an artistic dimension to urban videography. String lights, neon signs, and car headlights can all serve dual purposes as both light sources and props. By integrating these elements into your composition, you can enhance the narrative and atmosphere of your scenes. For instance, use neon signs to evoke a retro feel or string lights to create a festive ambiance for night scenes in bustling local markets or city parks.
#9 – Snooted Lighting
Snooted lighting focuses light into a narrow beam, highlighting specific elements of your scene. With a snoot attachment, you can aim the light precisely where needed, making it ideal for urban settings where selective illumination is crucial. This technique is perfect for directing the viewer’s attention to a particular subject or detail within a busy urban environment, such as a piece of street art or the face of a performer in a crowded plaza. Adjust the angle and intensity to ensure the spotlight effect enhances rather than overwhelms.
#10 – Clamshell Lighting
Clamshell lighting involves placing two light sources—one above and one below the subject—to create even, flattering illumination. This setup minimizes shadows and highlights facial features, making it ideal for portraits in urban settings. Utilize clamshell lighting to capture high-quality interviews or street portraits where detail and clarity are important. Adjust the upper light source’s angle to ensure it doesn’t create harsh shadows, and use the lower light to fill in any that remain.
#11 – Playful Lighting
Experimenting with playful lighting setups can add creativity and uniqueness to your urban videography. Use unconventional light sources like colored LEDs, flashing lights, or moving beams to create dynamic and engaging visuals. Playful lighting is perfect for capturing the vibrant energy of urban nightlife or street festivals. Experiment with color schemes and light movements to convey different moods and atmospheres, adding an extra layer of creativity to your projects.
#12 – Side Lighting
Side lighting emphasizes texture and form by illuminating your subject from the side. This technique can add depth and dimension to urban videography, making it perfect for capturing the gritty details of city life. Position your light source at a right angle to your subject to create strong highlights and shadows. Use side lighting to accentuate the surfaces of buildings, cobblestone streets, or other urban elements, adding a sense of realism and tangibility to your scenes.
#13 – Special Effect Lighting
Special effect lighting involves using creative techniques to add unique visual effects. Smoke machines, strobing lights, and colored filters are just a few tools you can use to enhance your urban scenes. Incorporate special effect lighting to create otherworldly or dramatic atmospheres in your videography. Use it to simulate environmental effects like fog or rain, or to add a surreal element to night scenes, providing a visually captivating experience for your audience.
#14 – Simple, Yet Effective Lighting
Sometimes, the most effective lighting setups are the simplest. Using natural light sources, such as streetlights or shop windows, can provide ample illumination for your urban scenes. Take advantage of the existing light around you to create a natural and realistic look. Position your subjects in well-lit areas and adjust your camera settings to make the most of the available light. This approach is perfect for low-budget projects or spontaneous shoots where equipment is limited.
#15 – Mysterious Lighting
Mysterious lighting involves creating shadows and contrasts that add a sense of intrigue to your scenes. Low-key lighting setups with minimal light sources are ideal for this effect, casting deep shadows that obscure details and add depth. Use mysterious lighting to enhance suspense or drama in your urban videography. Position your lights strategically to create pockets of darkness and light, drawing the viewer’s eye to specific areas while keeping others shrouded in mystery.
#16 – Adding Variance To Lighting
Adding variance to your lighting means mixing different light sources and intensities to create a complex, multi-dimensional scene. Use a combination of natural and artificial lights, or vary the color temperatures to add depth and interest. In urban settings, this technique can mimic the varied and dynamic lighting naturally found in cities. Experiment with different combinations to find the perfect balance for your scene, enhancing its overall visual appeal.
#17 – Strip Lighting
Strip lighting involves using long, narrow light sources to create lines of light across your scene. LED strips or fluorescents are ideal for this technique, adding a modern, futuristic feel to your videography. Use strip lighting to highlight architectural lines or add a sleek, high-tech vibe to your urban scenes. Position the strips to follow the contours of buildings or streets, enhancing the visual structure and flow of your scenes.
#18 – Horror Lighting
Horror lighting aims to create eerie and unsettling atmospheres. This setup often includes stark contrasts, unexpected shadows, and light sources from unusual angles to evoke fear and suspense. In urban videography, horror lighting can be used to transform familiar cityscapes into menacing environments. Utilize street lamps, car headlights, and other urban light sources to enhance the spooky effect, playing with angles and shadows to keep the viewer on edge.
#19 – Hard Lighting
Hard lighting produces harsh shadows and strong contrasts, creating a dramatic and intense effect. This setup is achieved by using direct, unfiltered light sources positioned close to your subject. Hard lighting is perfect for emphasizing the rough, gritty aspects of urban life. Use it to capture the texture of building surfaces, the intensity of bustling streets, or the stark contrasts found in cityscapes. Adjust the light’s angle and distance to control the sharpness of the shadows.
#20 – On Set Lighting
On-set lighting involves using multiple light sources arranged within the scene itself. This technique ensures that the lighting seamlessly integrates with the surroundings, creating a cohesive and natural look. In urban videography, on-set lighting can be used to replicate the varied and dynamic lighting naturally found in cities. Position lights to complement streetlights, neon signs, and other urban light sources, ensuring they blend seamlessly into the scene.
#21 – Super Strip Lighting
Super strip lighting builds on the strip lighting technique by using multiple strips to create more complex lighting patterns. This setup adds a futuristic, high-energy feel to your urban videography. Incorporate super strip lighting to enhance the visual impact of your scenes, particularly in modern or high-tech urban environments. Experiment with different arrangements and intensities to create dynamic and engaging visuals.
#22 – Reverse Clamshell Lighting
Reverse clamshell lighting flips the traditional clamshell setup, placing the main light below and the fill light above the subject. This technique creates an unconventional but flattering illumination, ideal for creative urban portraits. Use reverse clamshell lighting to highlight facial features in a unique way, adding an artistic touch to your urban videography. Adjust the light’s intensity and angle to ensure it complements the subject’s features and blends with the surroundings.
#23 – Background Lighting
Lighting the background separately from the subject can add depth and context to your scenes. Use dedicated light sources to illuminate buildings, streets, or other urban elements in the background. Background lighting helps to establish the setting and enhance the overall composition of your scenes. Ensure the background lighting complements the main subject’s illumination, creating a balanced and cohesive look.
#24 – Electronic Lighting
Electronic lighting involves using electronic devices, such as screens, LEDs, and other tech-based light sources, to illuminate your scenes. This technique adds a modern, high-tech feel to your urban videography. Incorporate electronic lighting for scenes set in tech-centric environments or to create futuristic visuals. Experiment with different devices and arrangements to find the perfect balance of light and atmosphere.
#25 – Window Lighting
Window lighting uses natural light coming through windows to illuminate your subject. This technique provides soft, diffused light perfect for creating a natural and realistic look in urban settings. Position your subject near a window and use reflectors or diffusers to control the light’s intensity and direction. Window lighting is ideal for indoor urban scenes, such as coffee shops or loft apartments.
#26 – Adding Color To Flat Lighting
Adding color to flat lighting involves using colored gels or LED lights to introduce a splash of color to otherwise monotonous lighting. This technique can transform dull scenes into vibrant and dynamic visuals. Apply colored gels to light sources or use RGB LED lights to add different hues to your scene. Experiment with color combinations that complement the urban setting and enhance the scene’s mood and theme.
#27 – Hidden Lighting
Hidden lighting involves placing light sources out of view to create subtle, indirect illumination. This technique adds a touch of realism and depth to your urban scenes without visible light sources. Use hidden lighting to create soft highlights and shadows that blend seamlessly with the natural environment. Position lights behind objects or within architectural features to achieve this effect, enhancing the scene’s ambiance without distracting from the main subject.
#28 – Feathered Lighting
Feathered lighting involves positioning the light source so that only the edge of the light cone illuminates the subject. This technique provides soft, even lighting with minimal shadows, perfect for creating a natural, flattering look. In urban videography, feathered lighting can be used for portraits or close-ups that require gentle, unobtrusive lighting. Experiment with different light angles and distances to achieve the desired softness and illumination.
#29 – Intentional Errors
Intentional errors introduce imperfect lighting setups, such as lens flares, light leaks, or uneven illumination, to add a raw and authentic feel to your videography. These “errors” can enhance the realism and spontaneity of urban scenes. Incorporate intentional errors to create a documentary-like aesthetic or to evoke a sense of nostalgia. Use this technique sparingly to ensure it enhances rather than detracts from your overall composition.
#30 – Black? How About Blue Instead?
Using blue lighting instead of traditional black or dark shadows can add a unique and modern twist to your urban videography. Blue lighting creates a moody, atmospheric effect that can enhance night scenes and add depth. Experiment with different shades of blue to find the perfect hue for your scene. Use blue gels or LED lights to illuminate your subjects and backgrounds, creating a cohesive and visually striking atmosphere. “`
| Lighting Setup | Effect | Best Used For |
|---|---|---|
| Gelled Rim Lighting | Adds colored halo | Creating mood and contrast |
| Edge Lighting | Emphasizes outline | Highlighting contours and details |
| Beauty Lighting | Softens features | Portraits and close-ups |
| Wrap Around Lighting | Even, soft illumination | Natural, warm scenes |
| Overhead Lighting | Creates dramatic shadows | Intense, moody scenes |
| Silhouette Rim Lighting | Creates a defined outline | Silhouettes against bright backgrounds |
| Half Lighting | Illuminates half of subject | Adding mystery and depth |
| Lighting As A Prop | Incorporates lights into scene | Enhancing narrative and atmosphere |
| Snooted Lighting | Focuses light | Highlighting specific elements |
| Clamshell Lighting | Even, flattering light | Urban portraits |
| Playful Lighting | Dynamic and creative | Vibrant urban scenes |
| Side Lighting | Emphasizes texture and form | Gritty details of city life |
| Special Effect Lighting | Creates unique effects | Dramatic and surreal scenes |
| Simple, Yet Effective Lighting | Uses natural light sources | Realistic urban scenes |
| Mysterious Lighting | Creates shadows and contrasts | Adding suspense and intrigue |
| Adding Variance To Lighting | Mixes different lights | Complex, multi-dimensional scenes |
| Strip Lighting | Creates lines of light | Futuristic urban scenes |
| Horror Lighting | Creates eerie atmospheres | Unsettling urban environments |
| Hard Lighting | Produces harsh shadows | Intense, dramatic scenes |
| On Set Lighting | Integrates with surroundings | Natural urban scenes |
| Super Strip Lighting | Complex lighting patterns | High-tech urban scenes |
| Reverse Clamshell Lighting | Flattering illumination | Creative urban portraits |
| Background Lighting | Illuminates background | Adding depth and context |
| Electronic Lighting | Modern light sources |